How to Disable search indexing in Windows
How to Disable search indexing in Windows – Although search is an important element of Windows 10, the indexing part may temporarily consume a lot of system resources, which may affect the performance of low-end devices.
Disable search indexing in Windows
If you usually know the location of the file, you can prevent indexing from slowing down your computer by following these steps:
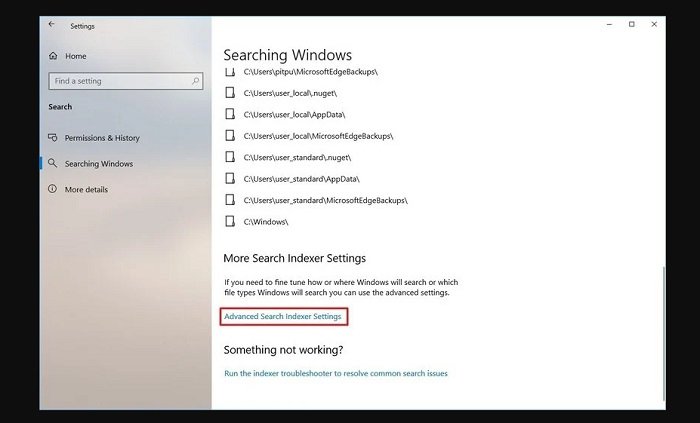
- Open Settings.
- Click on Search.
- Click on Search Windows.
- Under the “More Search Indexer Settings” section, click the Advanced Search Indexer Settings option.

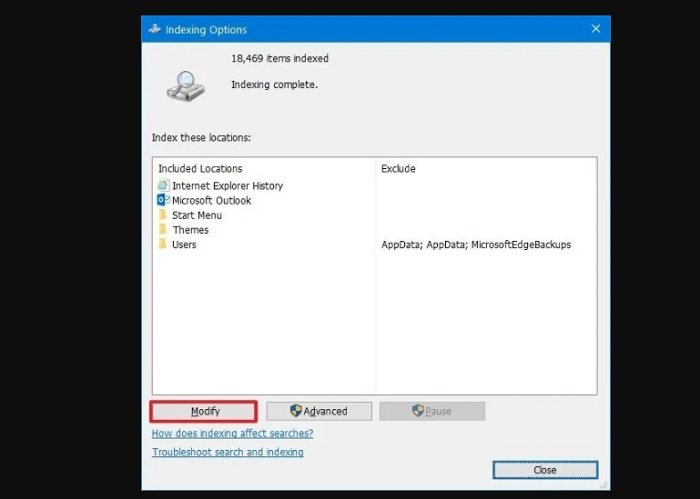
- Click the Modify button.

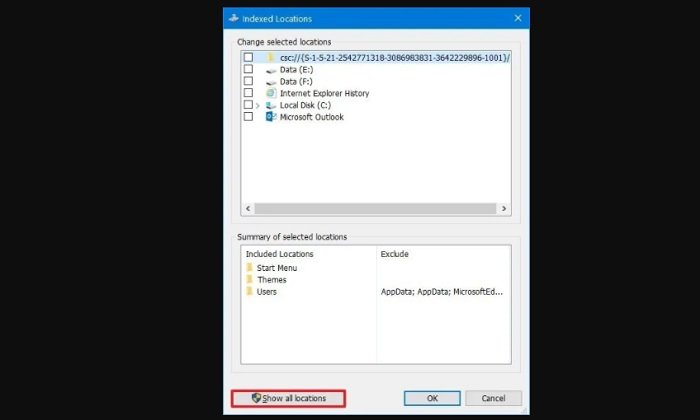
- Click the Show all locations button.

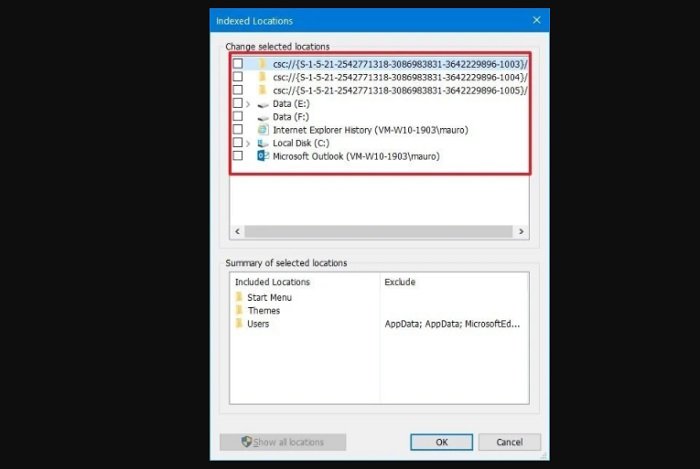
- Clear all the selected locations.

- Click the OK button.
- Click the Close button.
After completing these steps, Windows Search will continue to run on your device, but Windows 10 will no longer index the location you specified, which will help improve overall performance.
Hope to help you !
More: Are your apps blurry in Windows 10? if so please refer to the article How to Fix apps that appear blurry in Windows 10!


